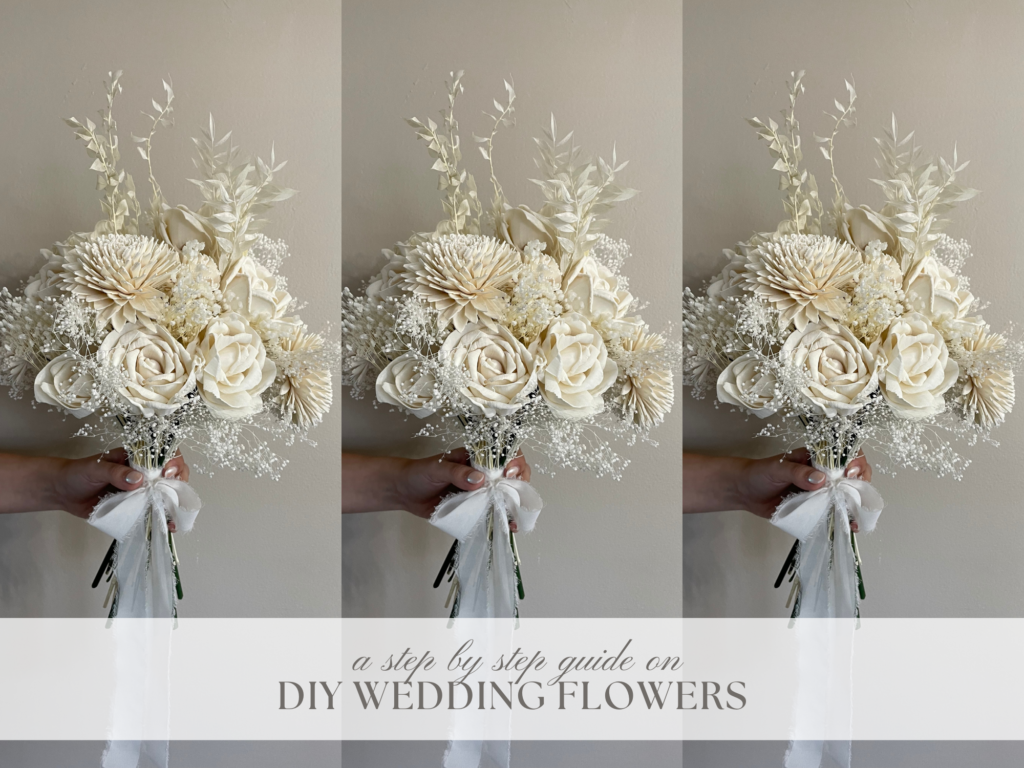
A Step by Step Guide on How to DIY Wedding Flowers
If you don’t want to spend thousands of dollars on fresh florals for your wedding, then DIY wedding flowers may be for you. You can still have professional looking arrangements for a fraction of the price by creating them yourself.
If you are anything like how I was prior to planning my wedding, then you have never heard of sola wood flowers. And you are also probably skeptical if wooden flowers can be a replacement for fresh wedding flowers.
If you are looking for a way to save thousands on your florals let me open your eyes to the possibilities of creating beautiful arrangements with wood flowers because let’s face it real flowers aren’t exactly a budget friendly option.
As a former bride I’ll show you exactly how I created my DIY sola wood flowers for my wedding.
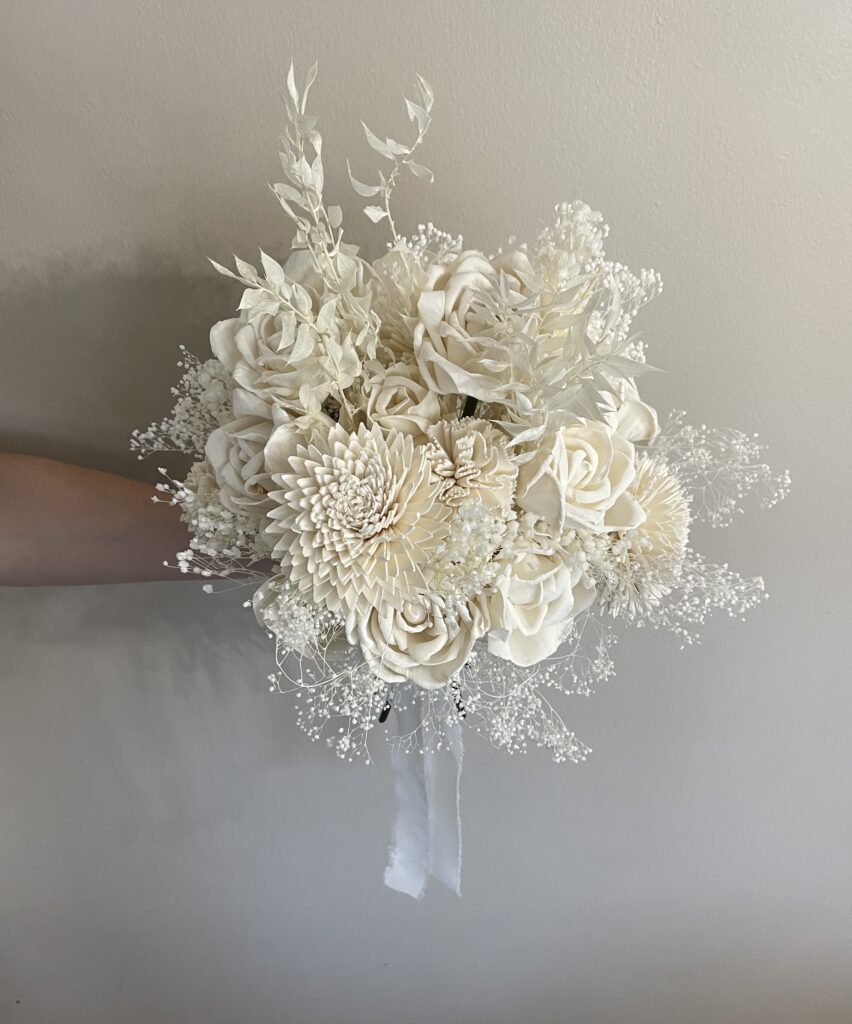
When I first started wedding planning I could not wrap my head around spending so much of my wedding budget on flowers that would die shortly after the wedding. Also, I loved the idea of being able to have my wedding flowers as a keepsake after the big day to display in my home. I knew pretty early on that DIY wedding flowers would be the perfect choice for me. There are tons of fake floral options but when I heard of sola wood flowers I was immediately intrigued and equally impressed when I saw pictures of them.
A Little Background on Sola Wood Flowers:
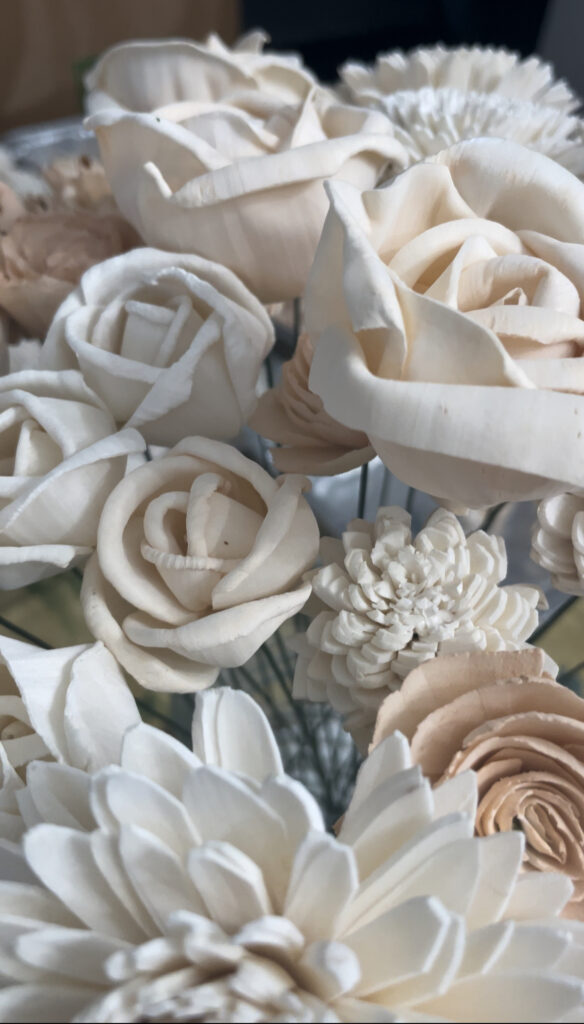
Sola wood flowers are made from a plant called Aeschynomene aspera. The cork like center of the plants has a spongey texture that is cut into very thin sheets that then make up the flower. These flowers can be bought with the bark on them (skinned) or skinless. For my wedding florals I used all skinless flowers because I thought they had a more realistic appearance but what you choose is all personal preference.
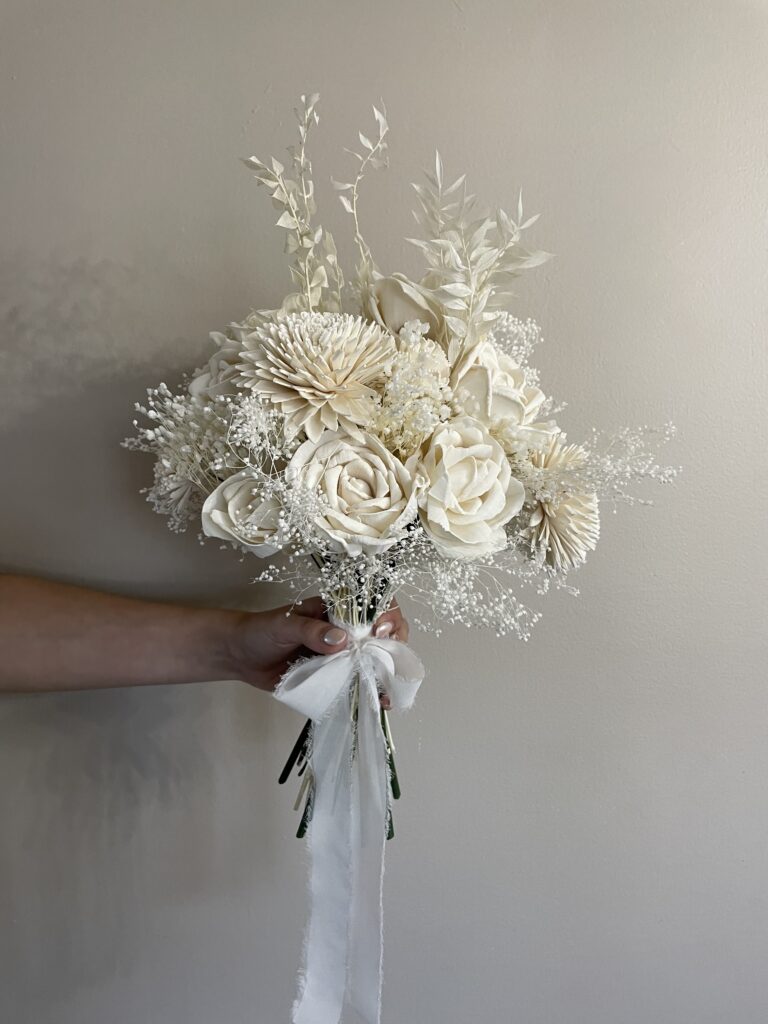
What I loved about sola wood flowers is that they are they are super customizable. You can easily create custom color flowers and pair them with different floral filler options to completely change the look. There are also so many different flower type options. I found that mixing the different types of flowers creates even more of a realistic look.

In order to try and make my arrangements look as realistic as possible I used a mix of sola flowers and dried floral filler. My go to places to purchase sola flowers were solawoodflowers.com and ohyourelovely.com. Most of the floral filler I purchased on Etsy. If you search for ‘dried floral filler’ there are a ton of options available.
I found that solawoodflowers was the cheaper option for buying bulk flowers and ohyourelovely had so many beautiful unique flower options with amazing quality.
DIY Wedding Flowers: The Process
Creating beautiful floral arrangements is pretty foolproof and essentially consists of four easy steps.
- dye the flowers with a mixture of watered down acrylic paint and glycerin
- let the flowers dry
- stem the flowers
- arrange the flowers
Although the process can be time consuming I promise it is very feasible to accomplish with a little help. For my 175+ person wedding I created approximately 25 centerpieces, 5 bridesmaids bouquets, 1 bridal bouquet and 9 boutonnieres. (Shoutout to my mom for all the help!)
Step 1: Dye Your Flowers
Although it may seem complicated I promise you this part is super easy. The flowers are dyed using a mixture of acrylic paint, water and glycerin. The great part about this is acrylic paint is super cheap and you can find so many different colors. The glycerin is super important to keeping the flowers soft a squishy. This helps to make the flowers look more realistic.
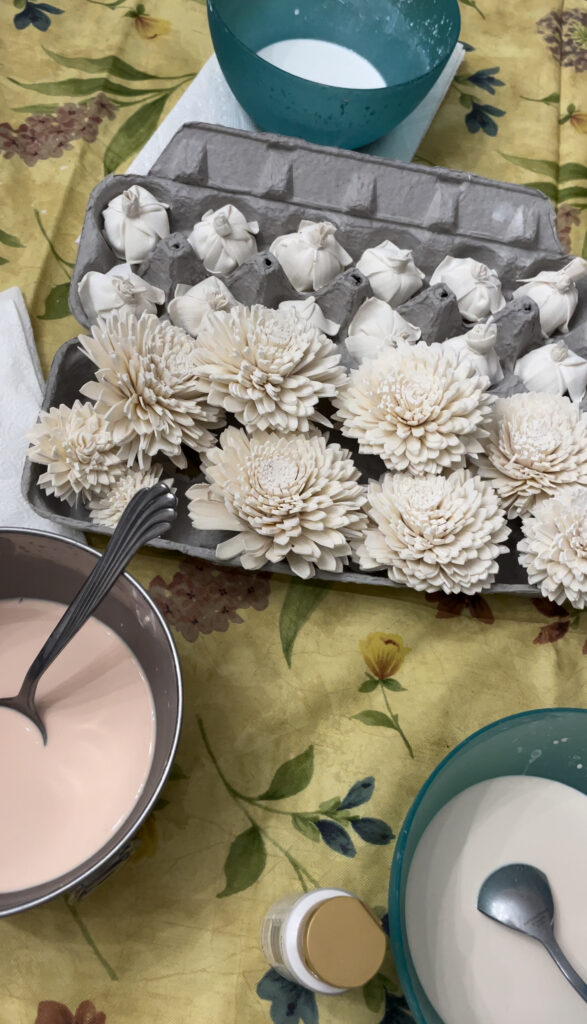
For this part I recommend having a bowl large enough for you to be able to completely submerge a flower. I often prepped a few bowls with the ratios below so I could dye multiple flower colors at once.
First bring some water to a boil, then add the glycerin to the water while it is still hot. I typically mixed a 1:10 ratio of 1 part glycerin to 10 parts water. This doesn’t have to be perfect though. I would typically do approximately 1/4 cup of glycerin mixed with 2.5 cups of water. Wait for that mixture to cool off a bit and then add acrylic paint.
The ratio of paint to the water / glycerin mixture really depends on how pigmented you want the flowers to be. I would recommend a 1:2 ratio of paint to water although it may take some trial and error to see how much paint to add. Be sure to mix the paint really well to ensure the all the paint dissolves in the water. Then simply dip your flowers into the mixture submerging them for a few seconds or until the color is as dark as you prefer.
Pro Tip:
The longer you let to flower sit in the dye the darker the color will be. Be sure to constantly stir the paint mixture so none of the color settles to the bottom of the bowl. This will ensure the color of your flowers is even.
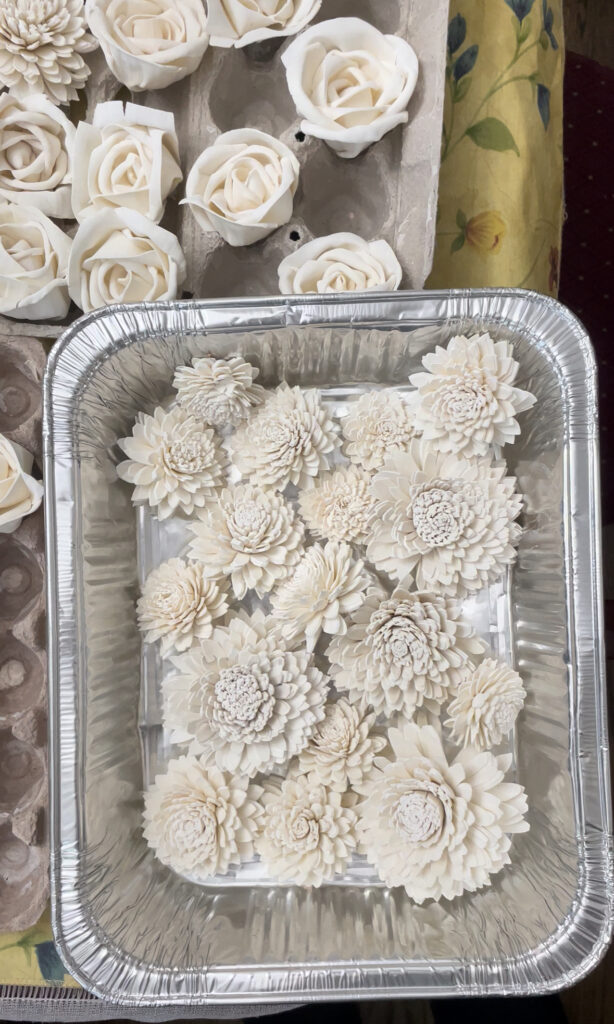
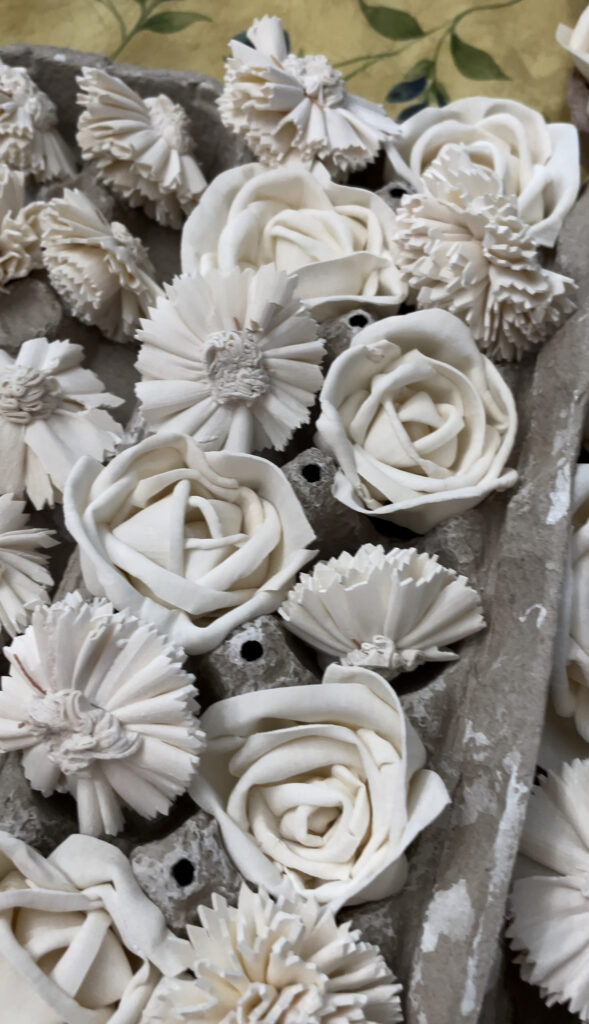
Step 2: Let Your Flowers Dry Completely
To dry the flowers I recommend letting them dry in egg cartons. Some flowers hold their shape better than others. The roses can sometimes be finicky when drying. I would often let them dry upside down in the egg carton to prevent the petals from unrolling. After a few hours and once they dried to the touch I would transfer the flowers from the egg carton into a tin foil tray where I would store the flowers until I was ready to stem them.
Step 3: Stem Your Flowers
Before stemming the flowers be sure they are completely dry. I would often leave the flowers to dry overnight before stemming them. I purchased wire stems on amazon of two different gauges. For my centerpieces I used these 18 gauge stems. They were easy to cut and were strong enough to hold up the flowers, but also could be easily bent to create a more full looking arrangement. For the bouquets I used a mix of the 18g stems I used for the centerpieces and a heavier gauge stem to give the bouquets a little more support.
To stem the flowers you simply dip the stem into hot glue and then stick the stem into the bottom of the flower. It really is that simple. I recommend using a hot glue pot instead of a hot glue gun to avoid burning yourself.
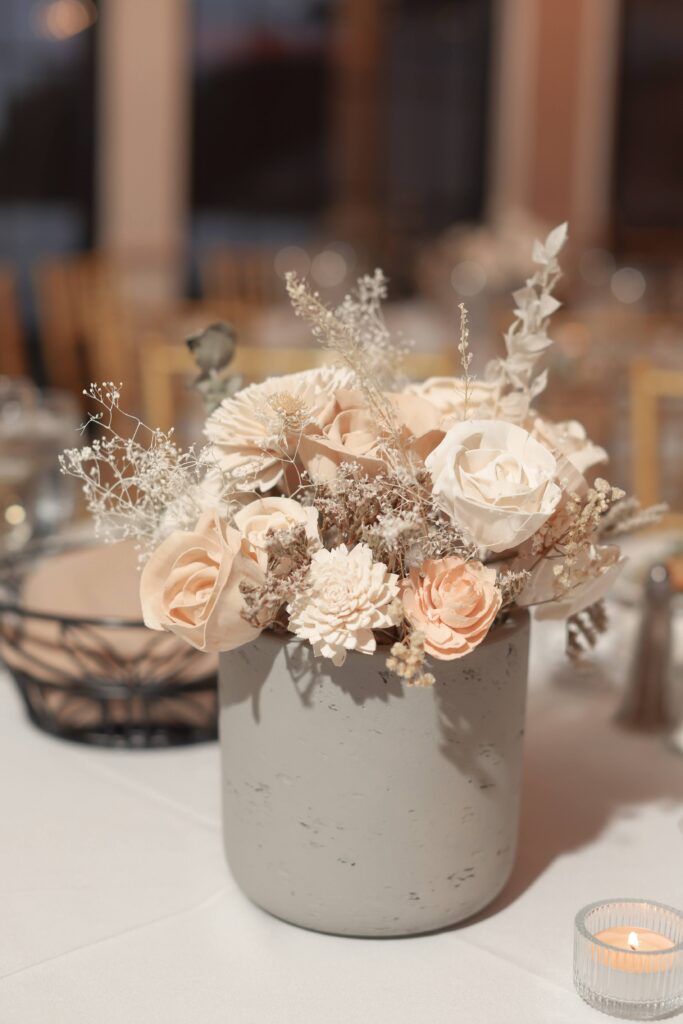
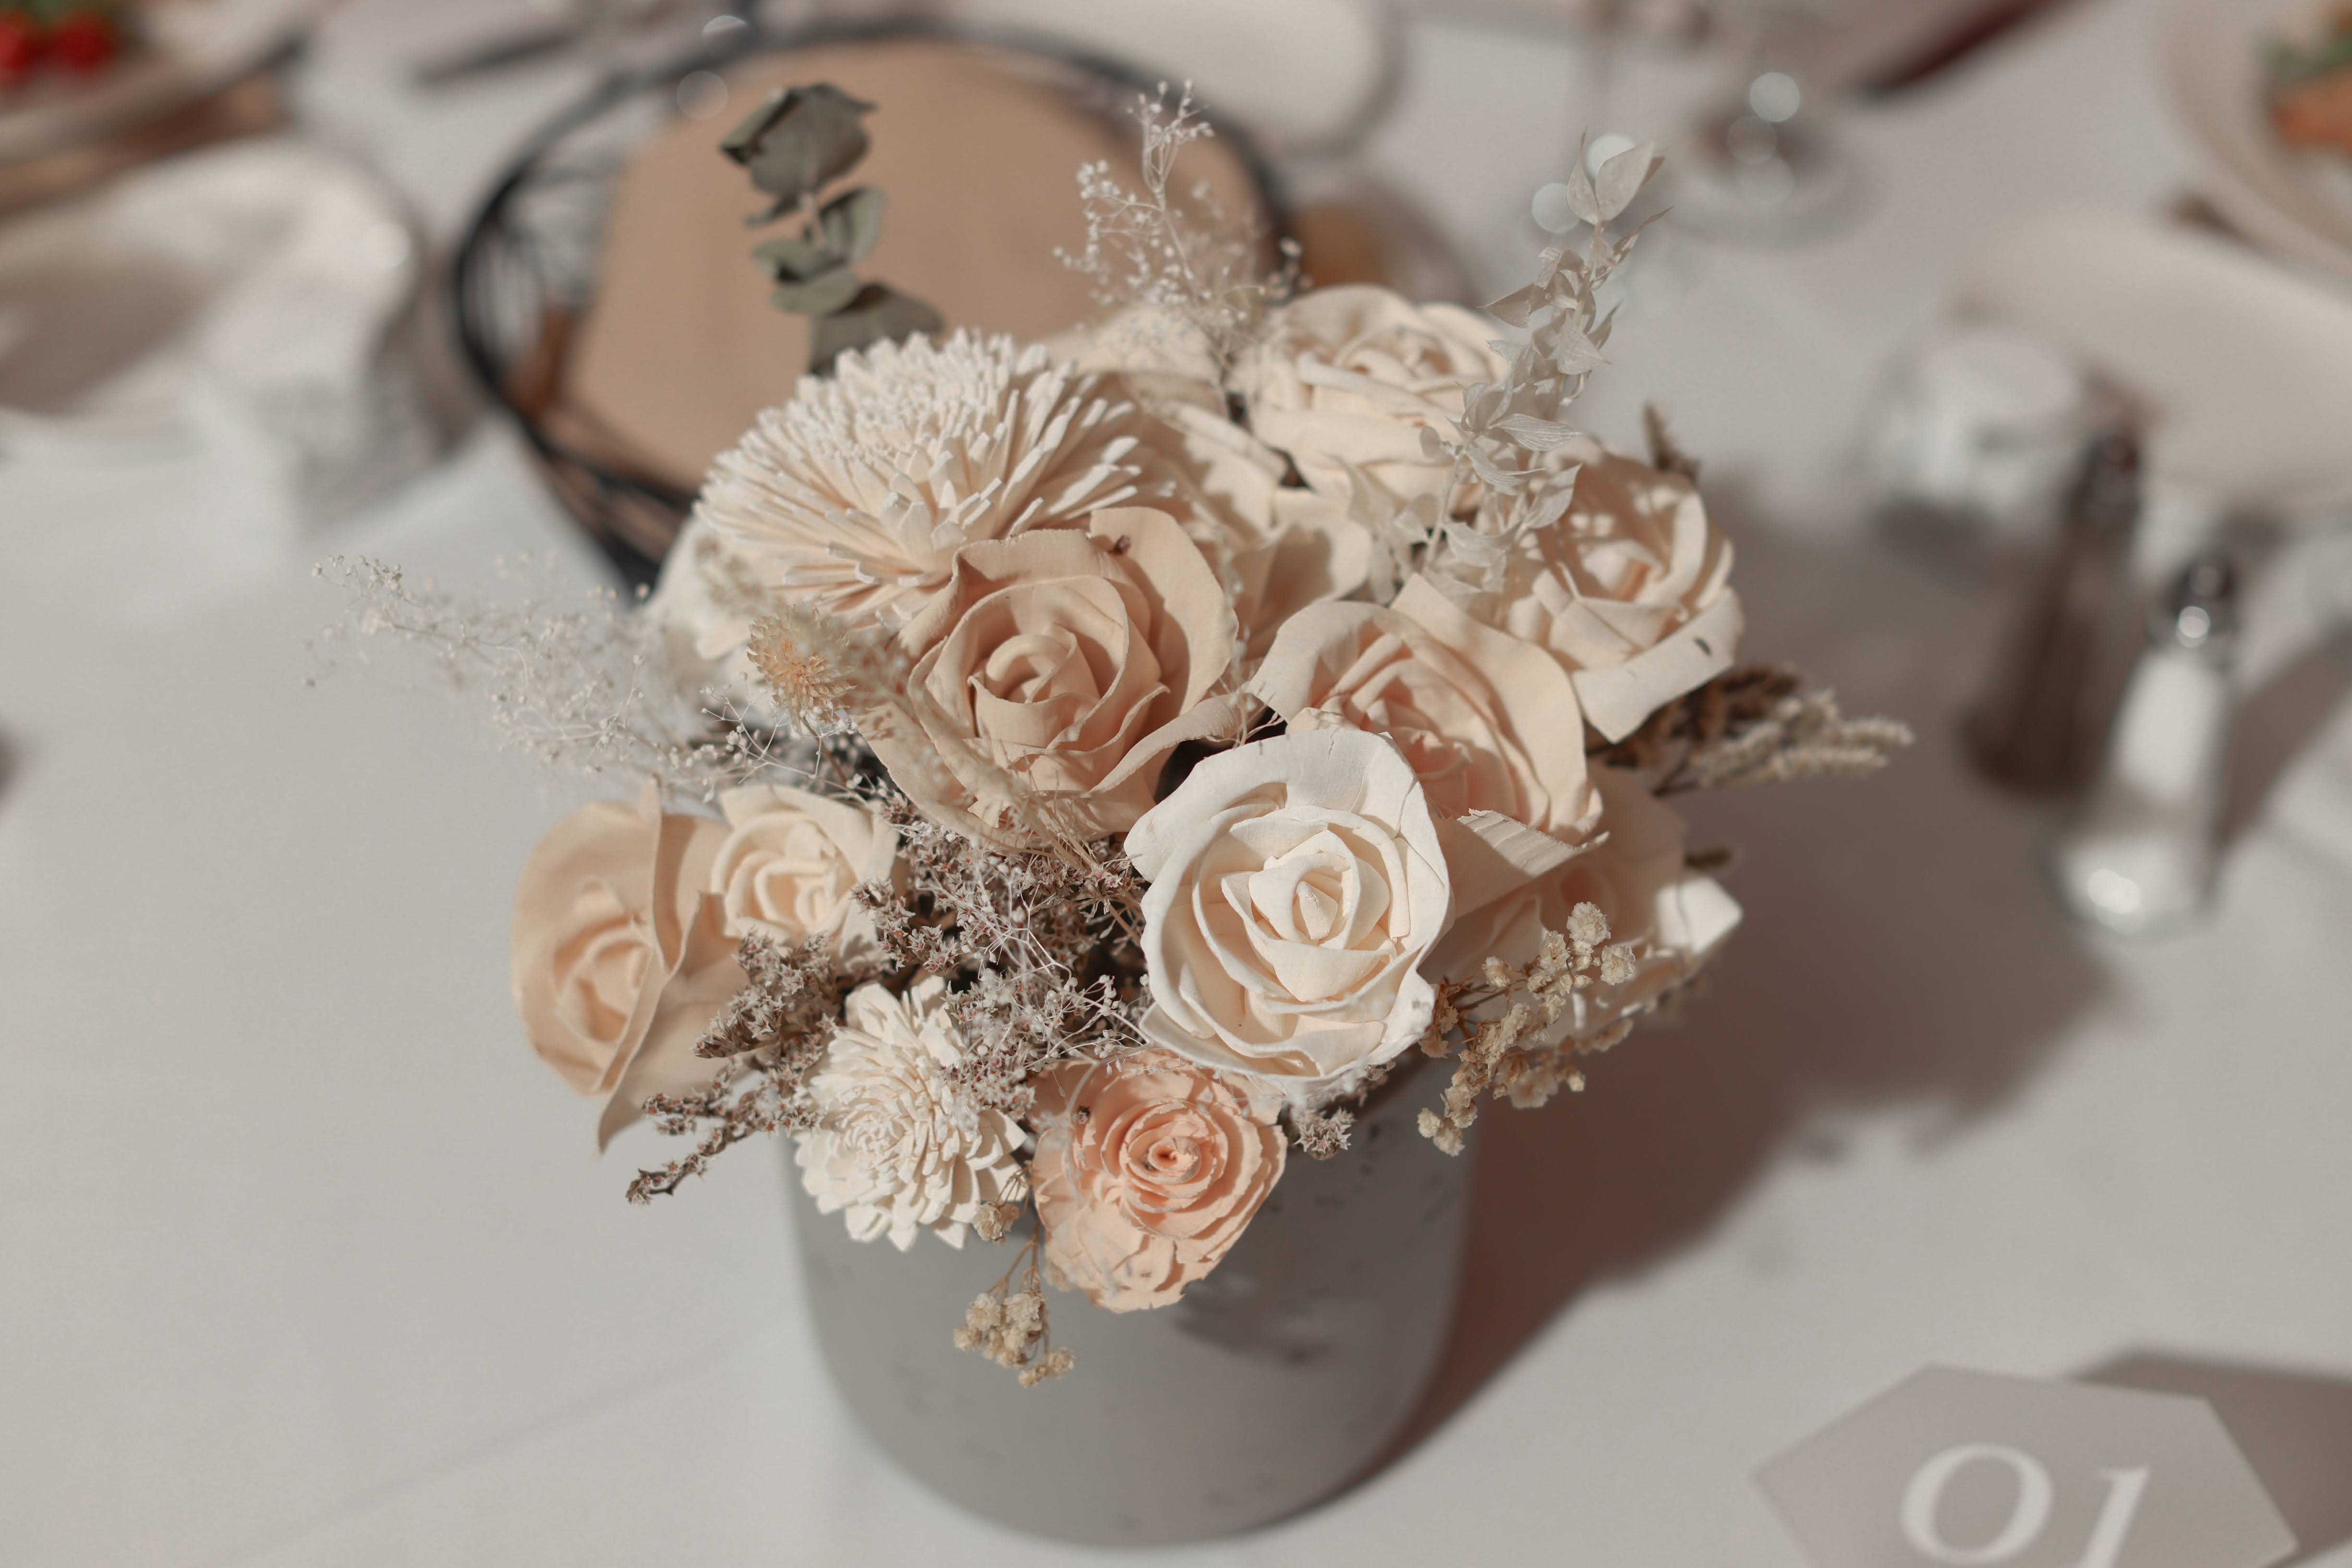
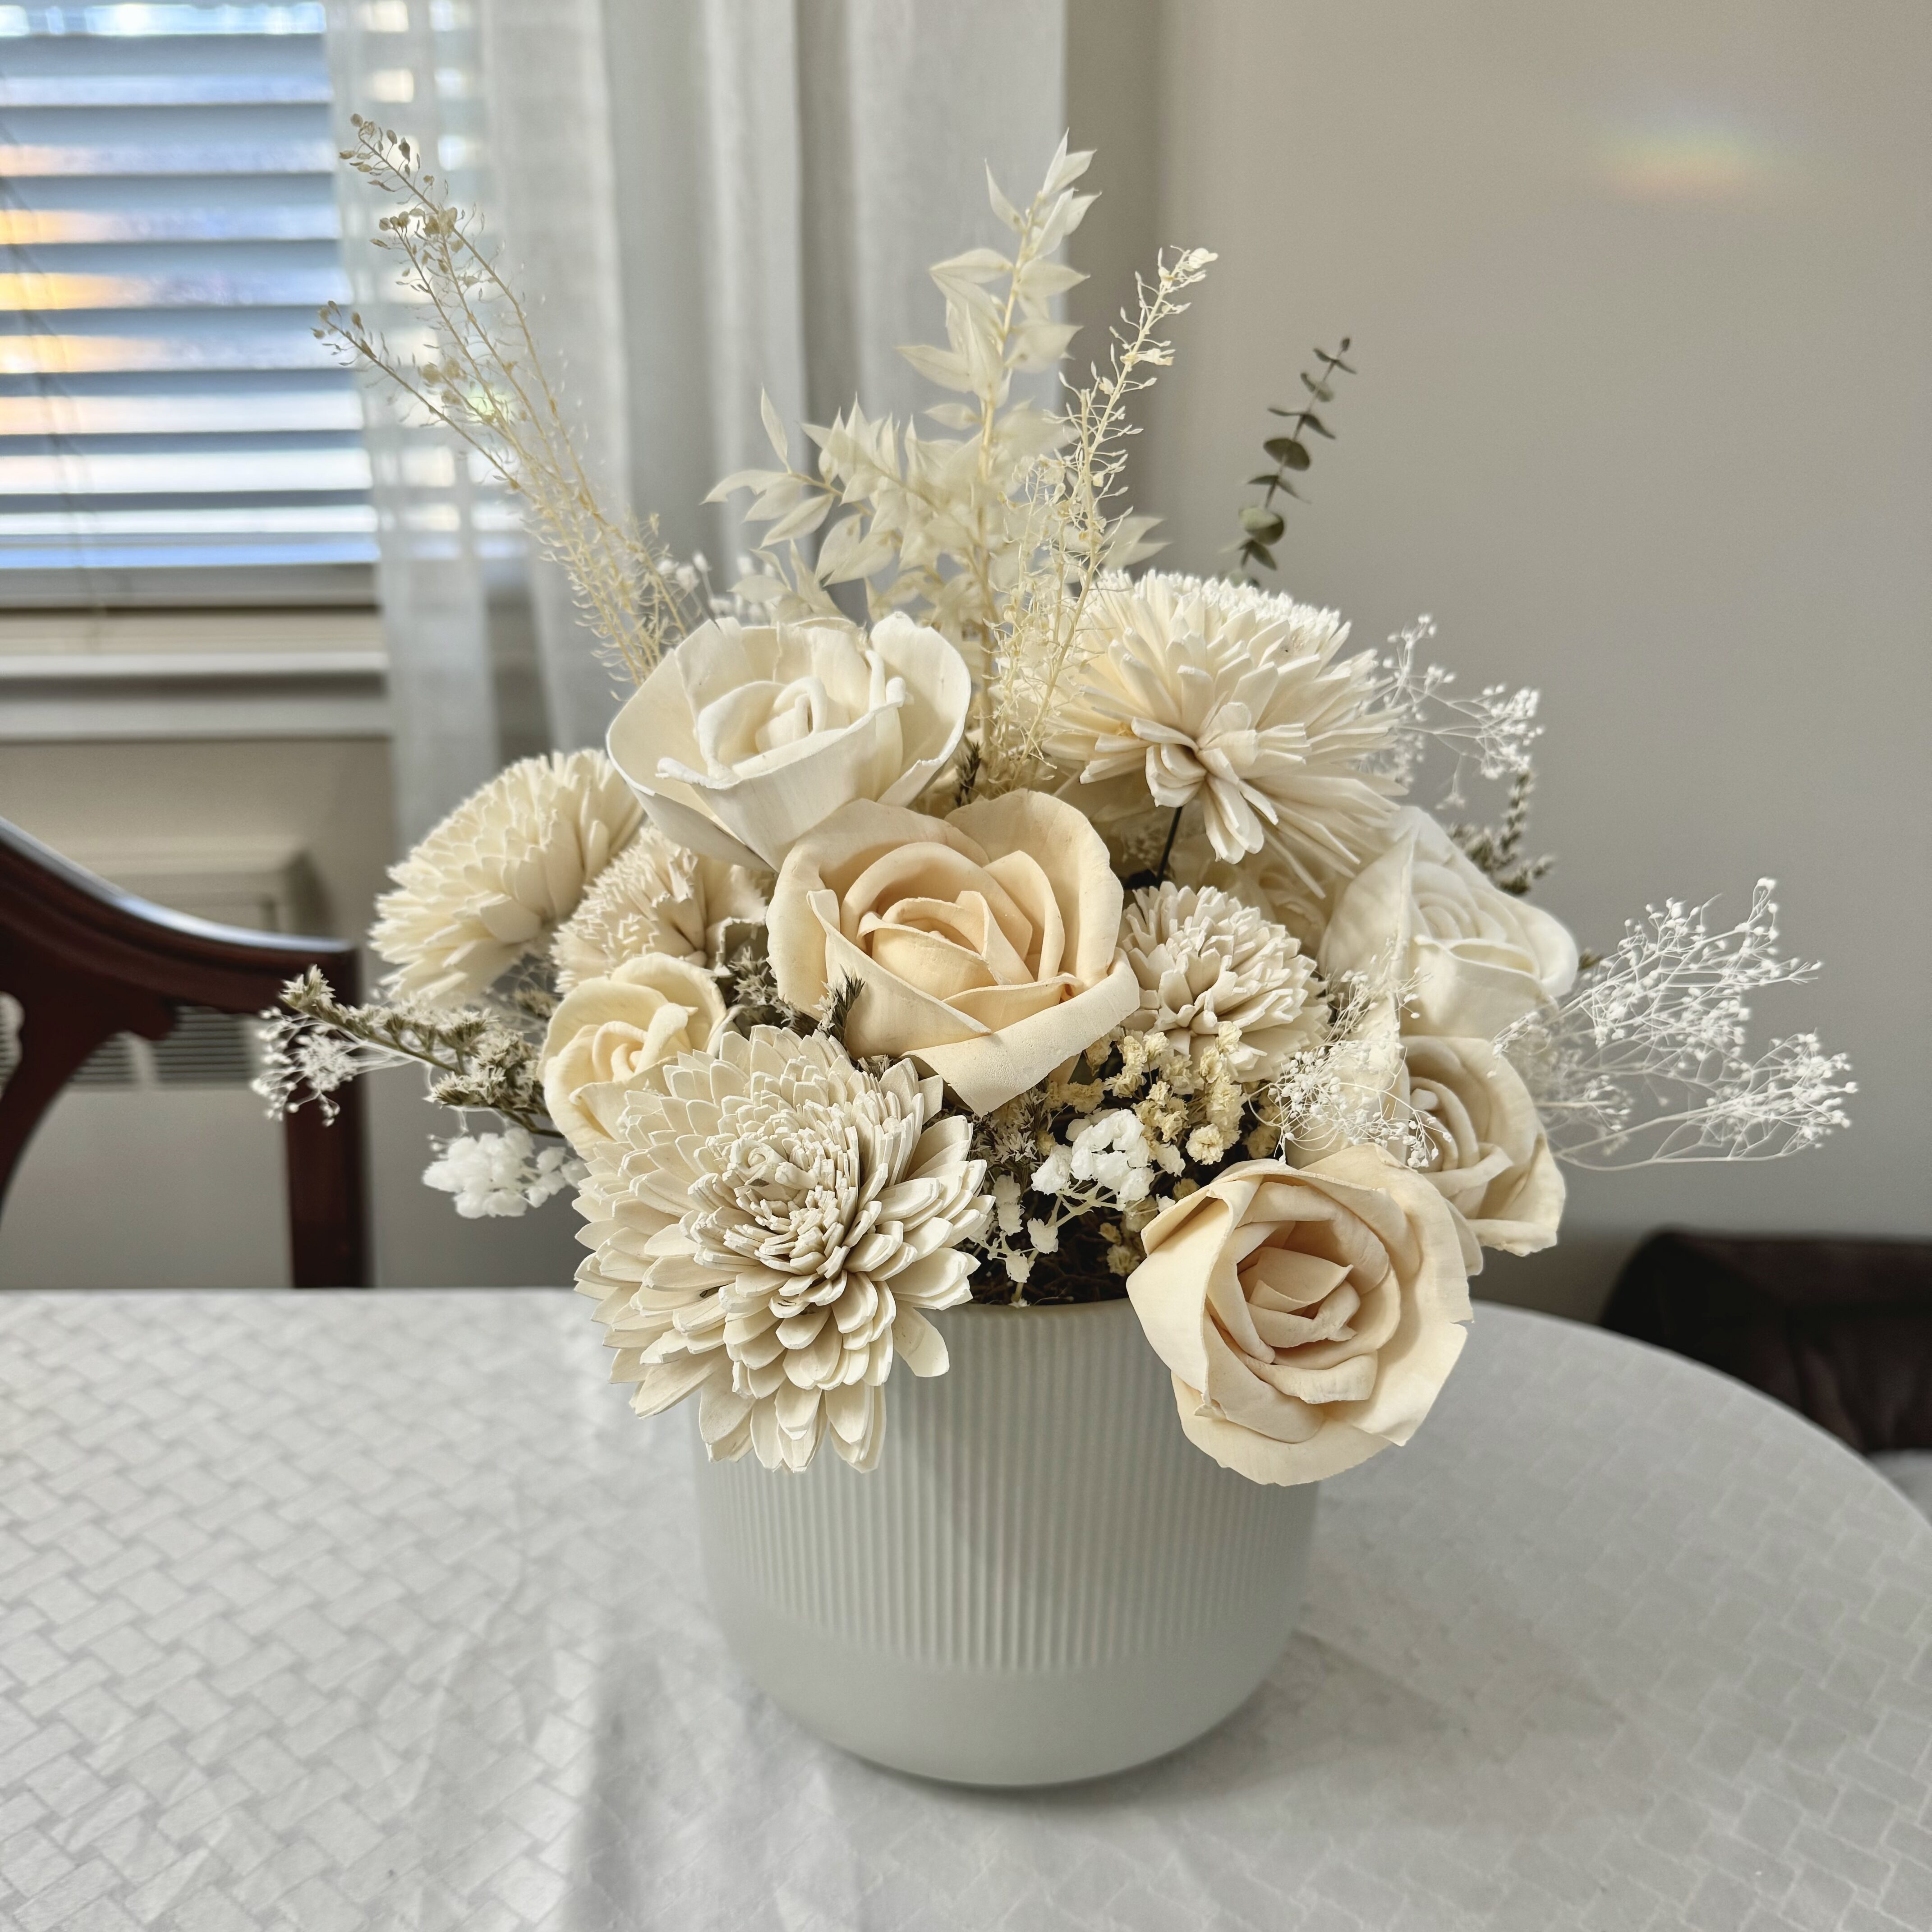
Step 4: Arrange Your Flowers
Once the flowers are all stemmed you can start arranging your flowers. For my wedding I used flower pots as vases and stuck the stemmed flowers into floral foam that filled the pots. While not necessary I covered the floral foam with some dried Spanish moss. You can easily cut the stems down to any length using a wire cutter. I like to vary the lengths of the stems to give the arrangement a more full appearance. I mixed the sola wood flowers in with dried floral filler I purchased from Etsy.
Do you have any questions? I’m happy to help. Just leave a comment below or feel free to follow me on my socials and send me a DM there. Happy DIYing!
Just Getting Started With Wedding Planning?
check out these posts
*this page may contain affiliate links, meaning I get a commission if you decide to make a purchase through my links, at no cost to you*
2 Comments
Comments are closed.